Creating your website is made easy with the Website Builder platform, especially when you can start it off by selecting a professional-looking Template that best suits your purpose. Once you've nailed that, you can move on to customising your site with your own content, images, and media.
With Website Builder, you can configure your website pages as how you want them to be. Here are the things that you can do with your website pages:
Add a Website Page
Follow the steps below to add a page to your website.
- Log in to your Website Builder editor.
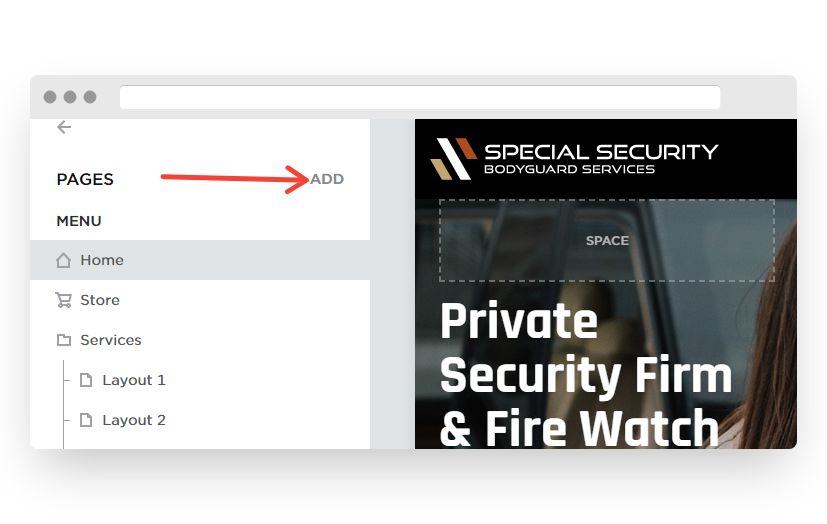
- Click PAGES.

- Click ADD.
- Select PAGE.
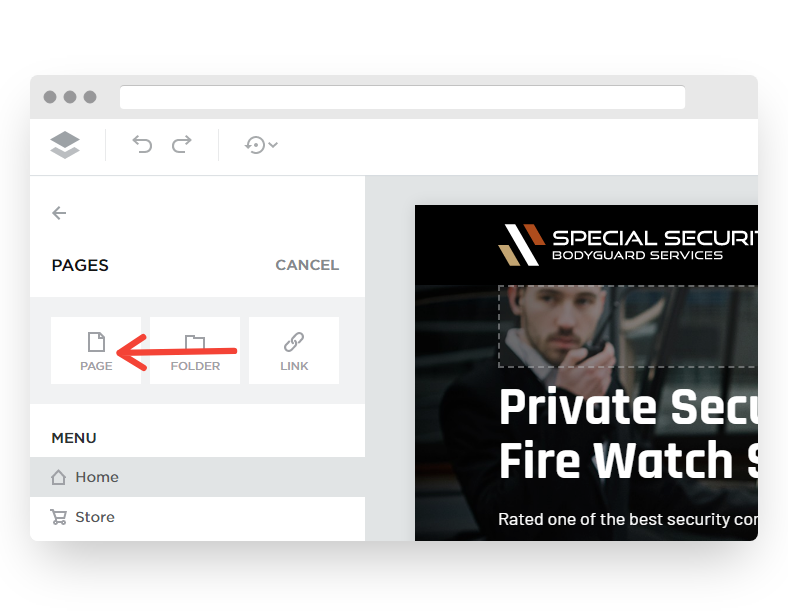
- Choose the type of page that you want to create.
- BLANK — Click this if you want to design the new page from scratch.
- DUPLICATE — This is convenient if you want to have the new page almost like an existing one.
- TEMPLATE — Select this to browse a variety of templates that you can use for the new page.
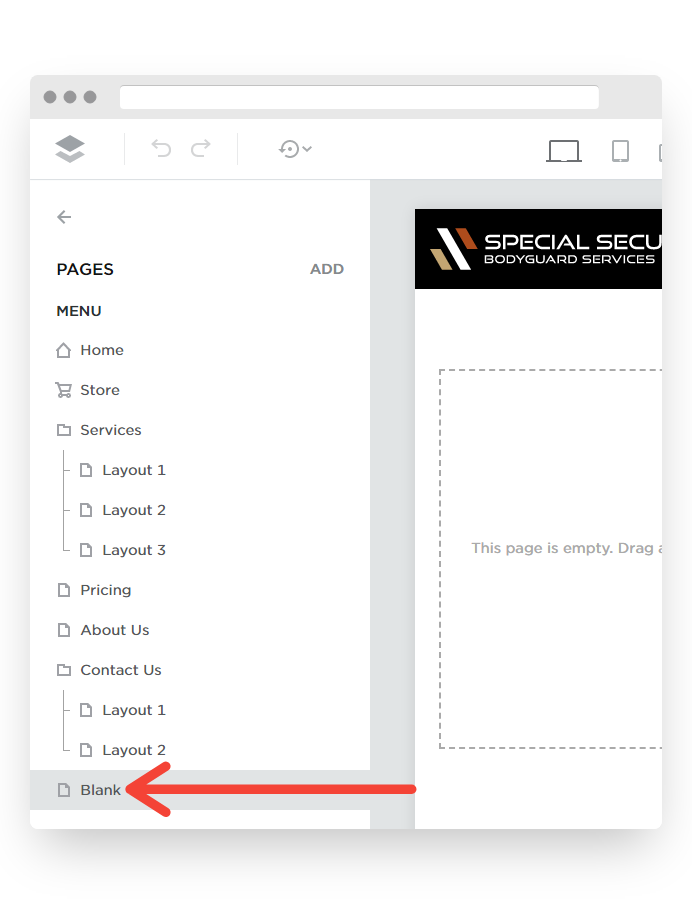
The new page will show at the bottom of the list. Proceed to configure the page settings to rename it.
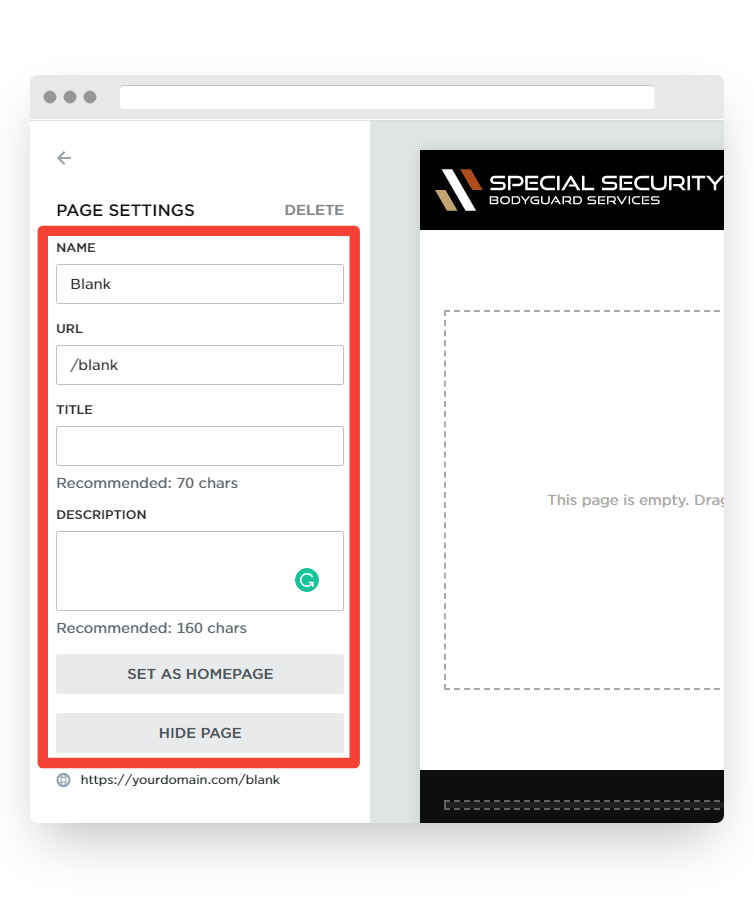
You can configure the name and URL of your website page in the PAGE SETTINGS. The steps below will show you how.
- Log in to your Website Builder editor.
- Click PAGES.
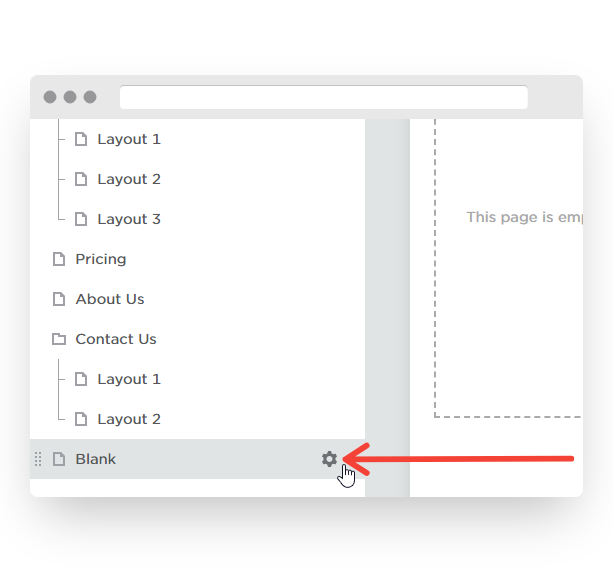
- Hover your cursor to the page that you want to configure and click the gear icon.
- Edit and enter the details in the boxes provided for the following:
- NAME — Edit the name of the website page. This is the name that shows in the drop-down menu of your website.
- URL — This is the information that will show at the end of the website’s URL whenever this page is accessed. This is unique to each page on the website.
- TITLE — This is optional but important as this can impact the website’s SEO. You can come up with the title as to what the website page is all about.
- DESCRIPTION — This is also optional and important for SEO purposes. You can describe the website page in this field.
- Click the SET AS HOMEPAGE button if you want this current page to be the homepage of your website. Otherwise, skip this step. The HIDE PAGE button is also available when necessary.
The changes made will take effect right after publishing the website.
Convert a Page into a Subpage
Follow the steps below to assign a lower-level page to an existing normal webpage on your website. This is useful if you want to categorise your website pages in the menu.
- Log in to your Website Builder editor.
- Click PAGES.
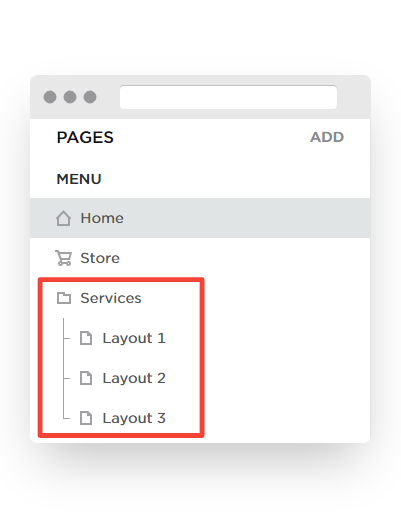
- Select the subpage and drag it below the webpage where you like to assign it. A connector should show once it’s successful. This indicates that the webpage below is a sublevel of the webpage above it. See the screenshot below for reference.
This is how you convert a page into a subpage.
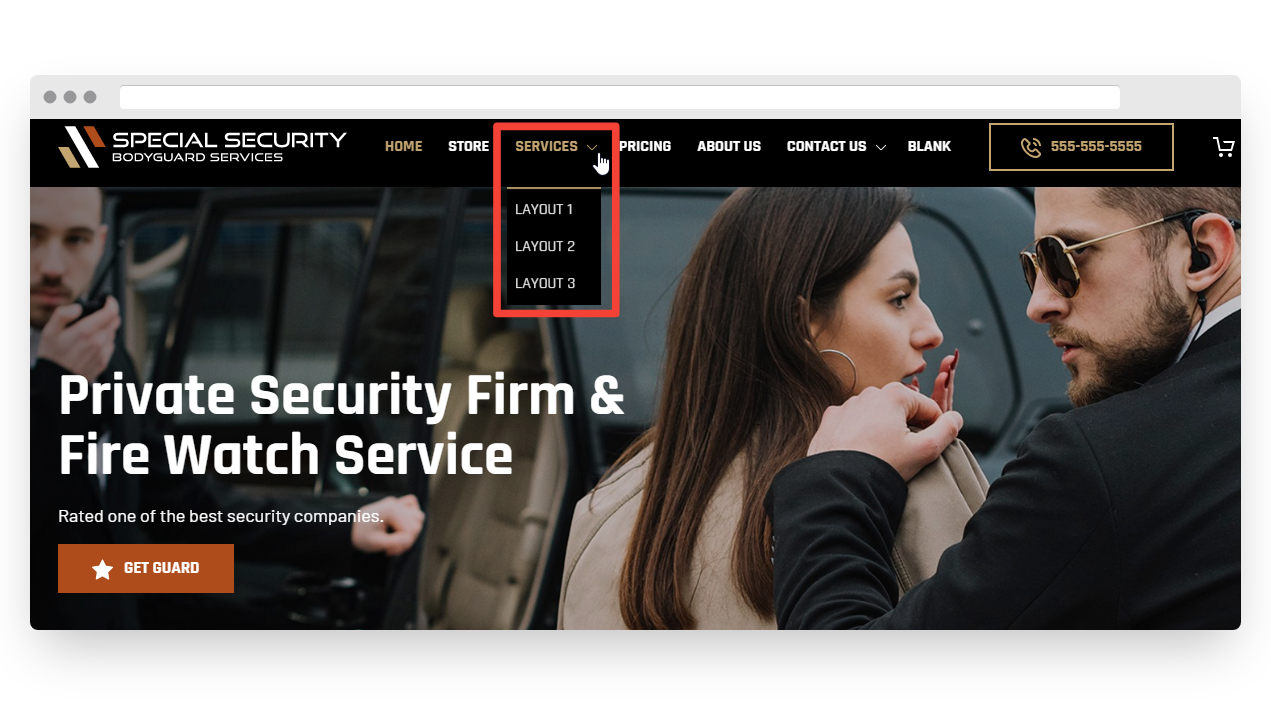
This is how it shows on the menu bar on the website.
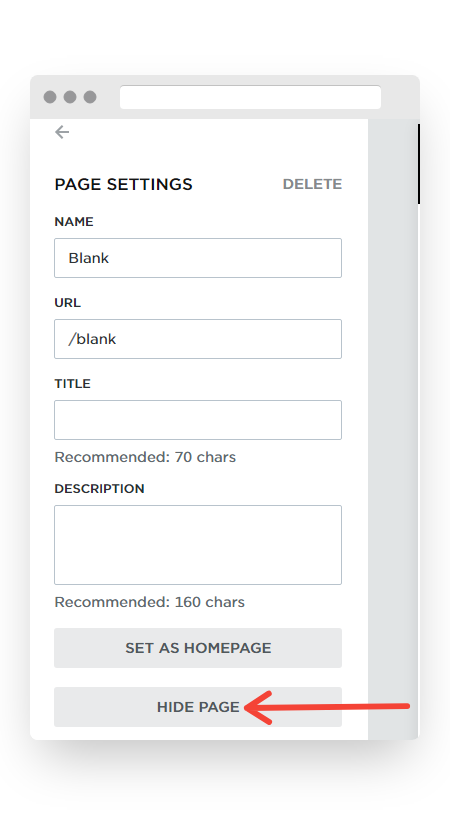
Hide a Website Page
You can temporarily hide a website page by following the steps below. Hidden pages are just hidden on the menu but are still published. The people who have the direct URL to those pages can still access them.
- Log in to your Website Builderr editor.
- Click PAGES.
- Hover your cursor to the page that you want to configure and click the gear icon.
- Click HIDE PAGE.
- PUBLISH the changes on the website.
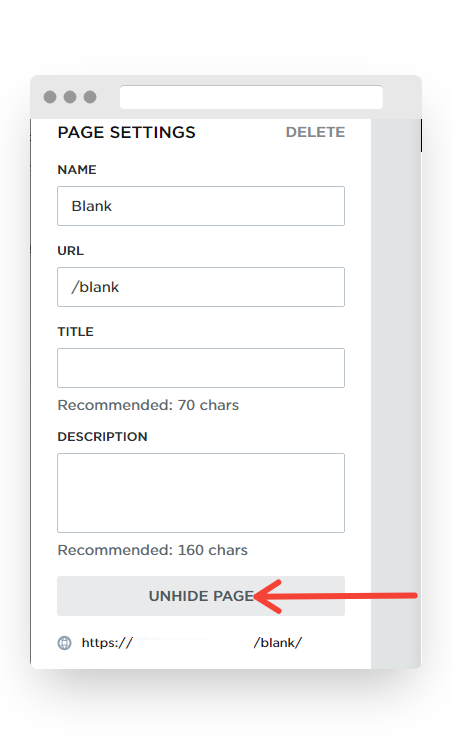
To undo this action, click the UNIHIDE PAGE button, and then click PUBLISH.
Delete a Website Page
If you want to permanently remove a website page, the steps below will guide you through it.
Note: This will delete all contents on the webpage including texts and images. If you are unsure, hide the page by following the steps provided above.
- Log in to your Website Builder editor.
- Click PAGES.
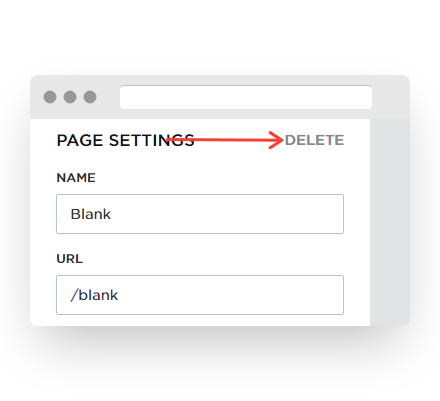
- Hover your cursor to the page that you want to configure and click the gear icon.
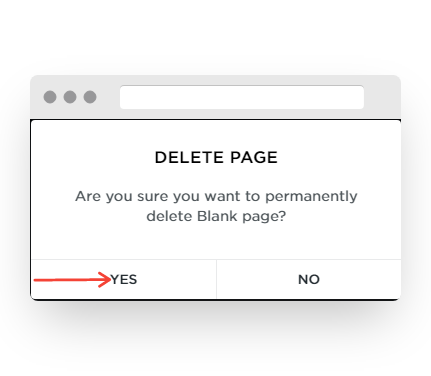
- Click DELETE, and then click YES.
The page will no longer show on the menu bar of the website and will no longer be accessible.
Creating your website is made easy with the Website Builder website builder platform, especially when you can start it off by selecting a professional-looking Template that best suits your purpose. Once you've nailed that, you can move on to customising your site with your own content, images, and media.
Managing your website Pages will help organise your content and make it worthwhile and engaging for your visitors.
Adding a Blank, Duplicate, or Template Page
You can choose to add a Blank Page to start with an empty space to work on, or a Duplicate Page where you can use the same Features and just edit the text and media content, or a Template Page so you can start with a design that meets the purpose of your Page. You can add any of these to your website Menu in Website Builder, using the instructions below:
- Click Sign Up / Log In at the top of this page.
- Select Account Manager from the drop-down menu.
- Enter your username and password then, click Log In.
- Click the Visit My Account button.
- Click Website Builder from the menu at the top of the page.
- Click on the Website Builder plan that you wish to manage.
If you only have one Website Builder plan, you will automatically be redirected to its management page.
- Hover your mouse pointer over the [+] Icon at the upper right-hand section of the page and click Build Now.
- On the Sites page of your Website Builder Dashboard, hover your mouse pointer over the project/website that you would like to customise and click EDIT.
- Click Pages from the left-side menu, then click Add.
- Click on the Page Icon and select from the 3 options available:
| Blank |
Click this if you want to add a Blank Page to your site. |
| Duplicate |
Click this if you want to add a Duplicate of an existing Page, then select which Page you wish to Duplicate. |
| Template |
Click this if you want to add a Page from any Website Builder Template, then select a Template to open it and click on the specific Template Page that you want to add to your site. |
The Page will now appear under the Pages Panel on the left-side menu (which you can preview on your site).
Other Actions:
- Reorder the Pages - Click on a Page Name on the left-side panel, then drag and drop them into place.
- Set a Page under a Parent Page - Click on a Page Name on the left-side panel, hold it over the Parent Page until a [-] Dash appears before the Page Name indicating that it is now a Child Page, then release to leave it in place.
Adding a Folder Page
A Folder Page can be added to your website Menu, which you can use as a Parent Page to help hold Child Pages belonging to a certain Category or Section, instead of adding a normal Page that has text and media content. This is a great way to minimise clutter in your website.
To do this, simply click Add from the Pages Panel on the left-side menu, then click the Folder Icon. A Folder Settings section will appear. Enter a Name for your Folder Page.
Click the [←] Back Icon to go back to the Pages Panel.
Adding a Link Page
If you wish to add a Page in the website Menu that opens to an external site when clicked, you can add a Link Page.
To do this, simply click Add from the Pages Panel on the left-side menu, then click the Link Icon. A Link Settings section will appear. Enter a Name for your Link Page and the external site Link in the respective fields provided, then enable Open In New Tab if preferred.
Click the [←] Back Icon to go back to the Pages Panel.
Customising the Page Settings
Hover your mouse pointer over the Page Name on the left-side panel and click the Settings Icon that appears. The following fields will be available for you to customise:
Note: As noted above, the fields will be different for the Folder Page and the Link Page.
| Name |
Rename this to the Name of the Page that you want to create. |
| URL |
This is automatically generated by the system based on your Page Name. You can edit this if you want a different URL to show. |
| Title |
Add a Meta Title for your Page. |
| Description |
Add a Meta Desciption for your Page. |
Other Actions:
- Set as Homepage - Click this button if you wish to set this Page as your website's Homepage. This option is not available for Folder and Link Pages.
- Hide/Unhide Page - Click to Hide/Unhide the Page from your actual website when published live.
- Delete a Page - Click the Delete option to entirely remove the Page from your website.
Congratulations! You just learned how to manage Pages in Website Builder.
Fantastic...Thank you for your feedback =)
Sorry... Please submit a support ticket or try another search.